No Tails Continued…

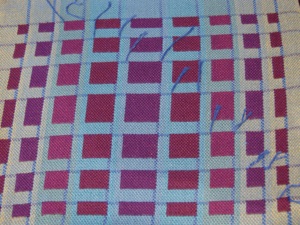
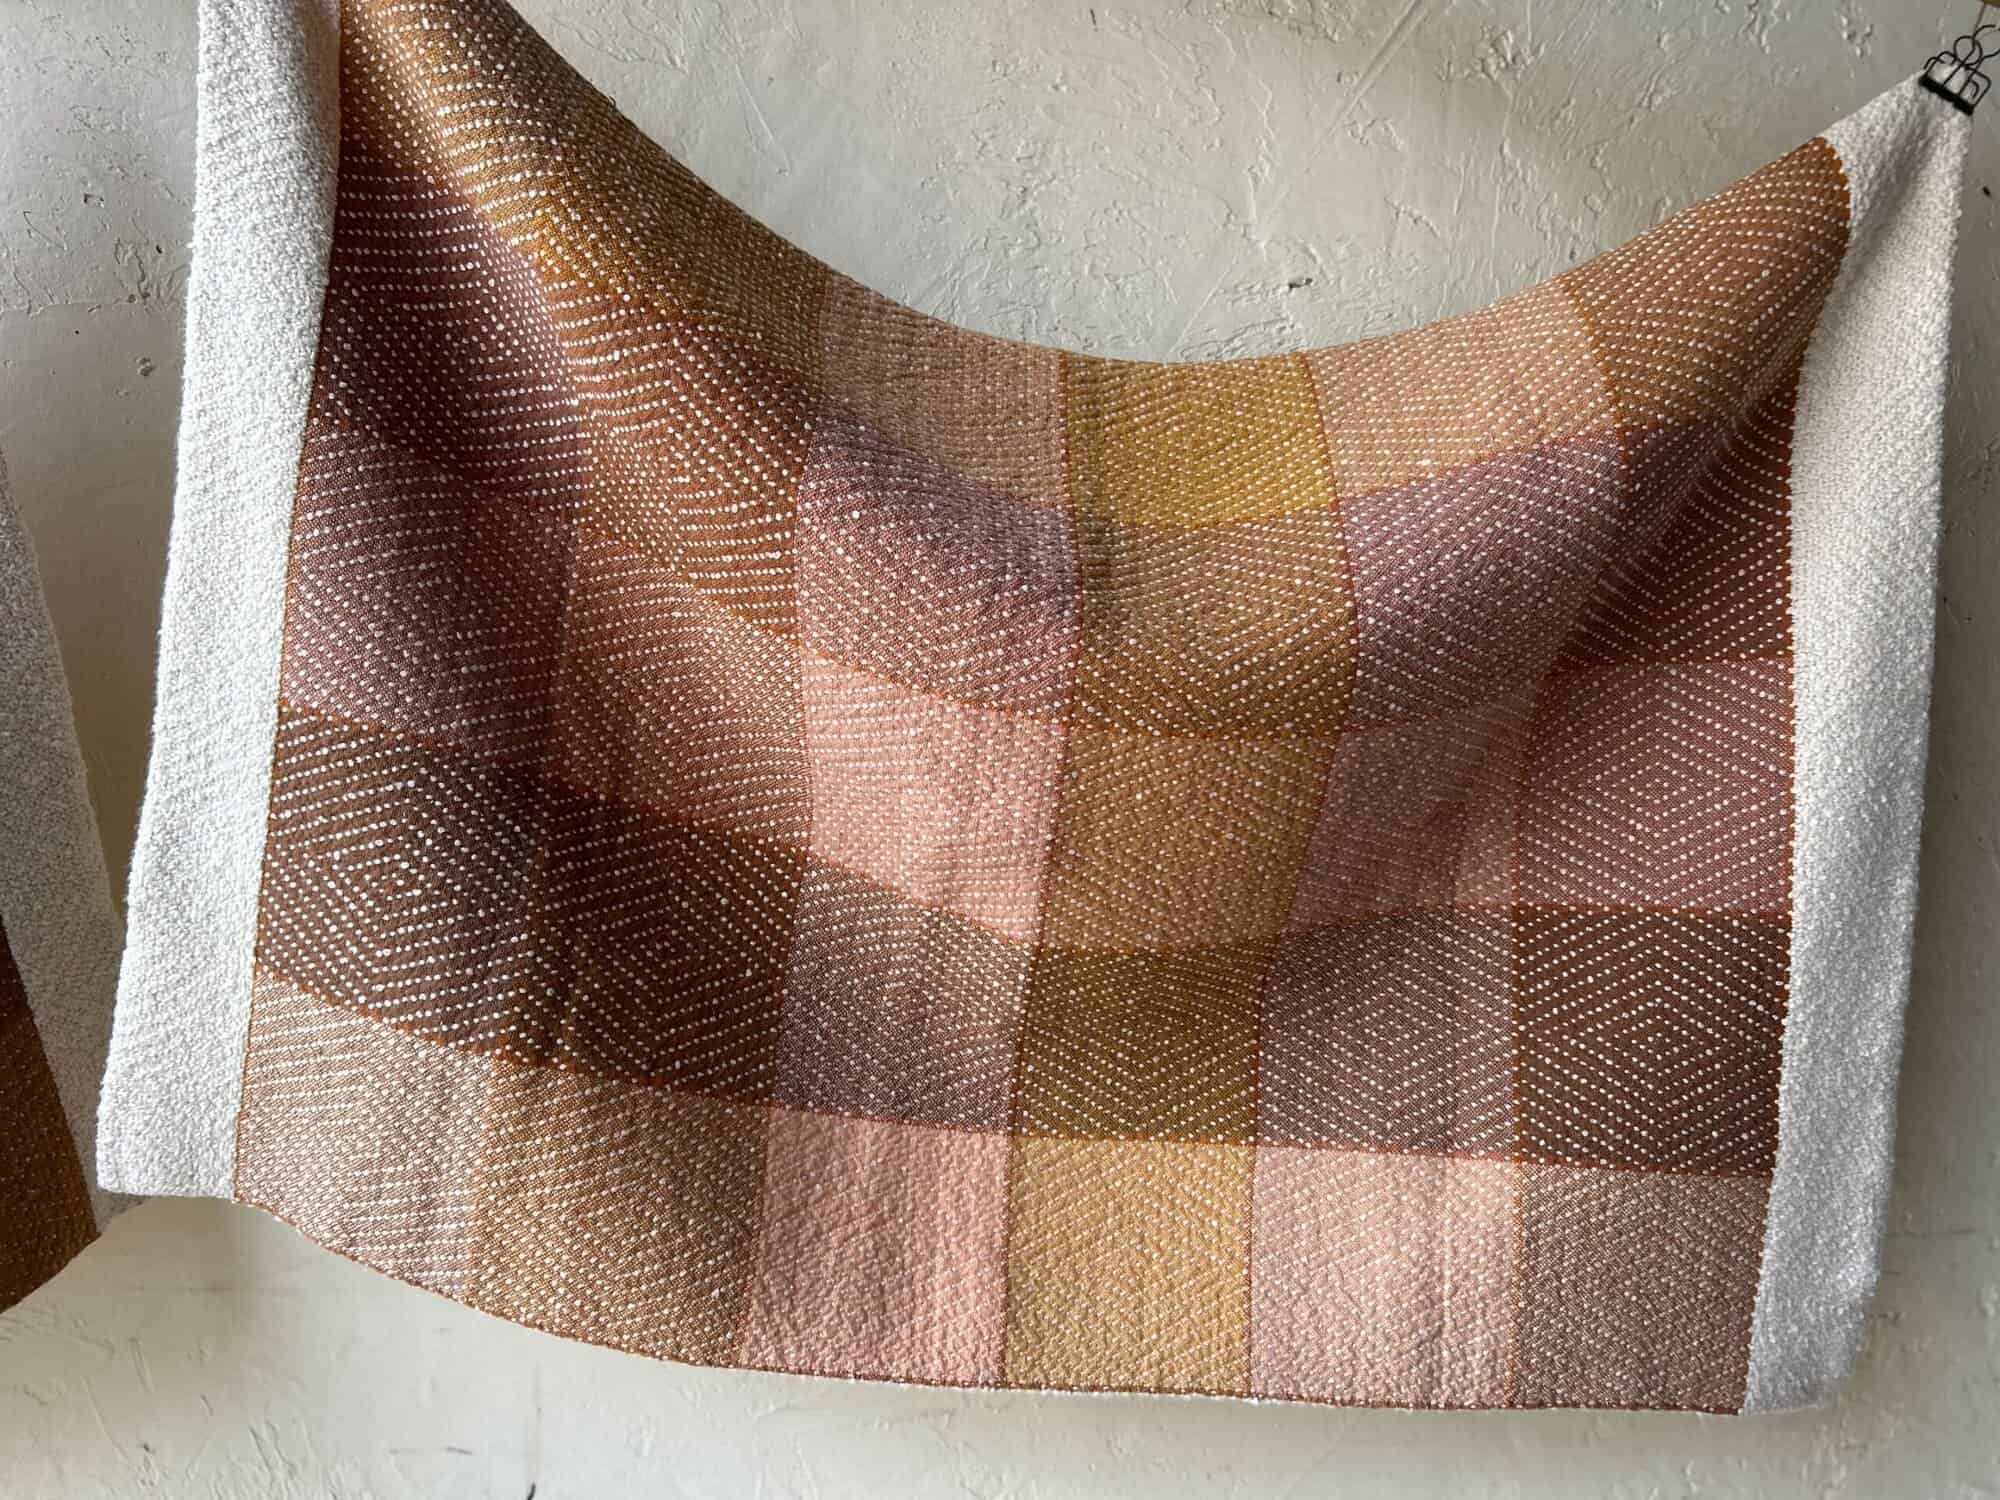
Leah 2 is finished with the exception of fringes (assignment for tonight) and I want to detail “no tails at the selvedges” for Kathy (thanks for the comment Kathy). I put a (not great)photo above to show what the “no tails” method looks like. In the case of Leah 2, I was using two shuttles for the two weft colors but needed to add the shading (navy) at the top of each block of purple. I could have thrown the navy shuttle – tucked the end of the navy into the shed – changed shed, thrown the shuttle in the new shed and tucked that end, but it would have resulted in quite a bit of build-up at the selvedges even if I alternated selvedge. So, I used the “no tail” method. Here’s how it goes: open shed – throw shuttle with about 5” of thread hanging from the right selvedge – change shed – throw shuttle, but bring it up through the fabric about 2” before the right selvedge – tuck the 5” of yarn at the right selvedge into the open shed at the right and bring it up to the surface of the fabric about 1” to the left of the point at which you brought the shuttle up – clip yarn (sounds complicated, but you are just overlapping the two ends of yarn in the interior of the fabric instead of at the selvedges.) The next 2 picks of navy are treated in the same manner, but moved into the fabric by an inch or so. You can see in the photo how the navy threads are moving diagonally across the fabric in order to avoid build-up in one area. Chris Hammel taught this to me , but she credits Jean Skorgie (sp.)
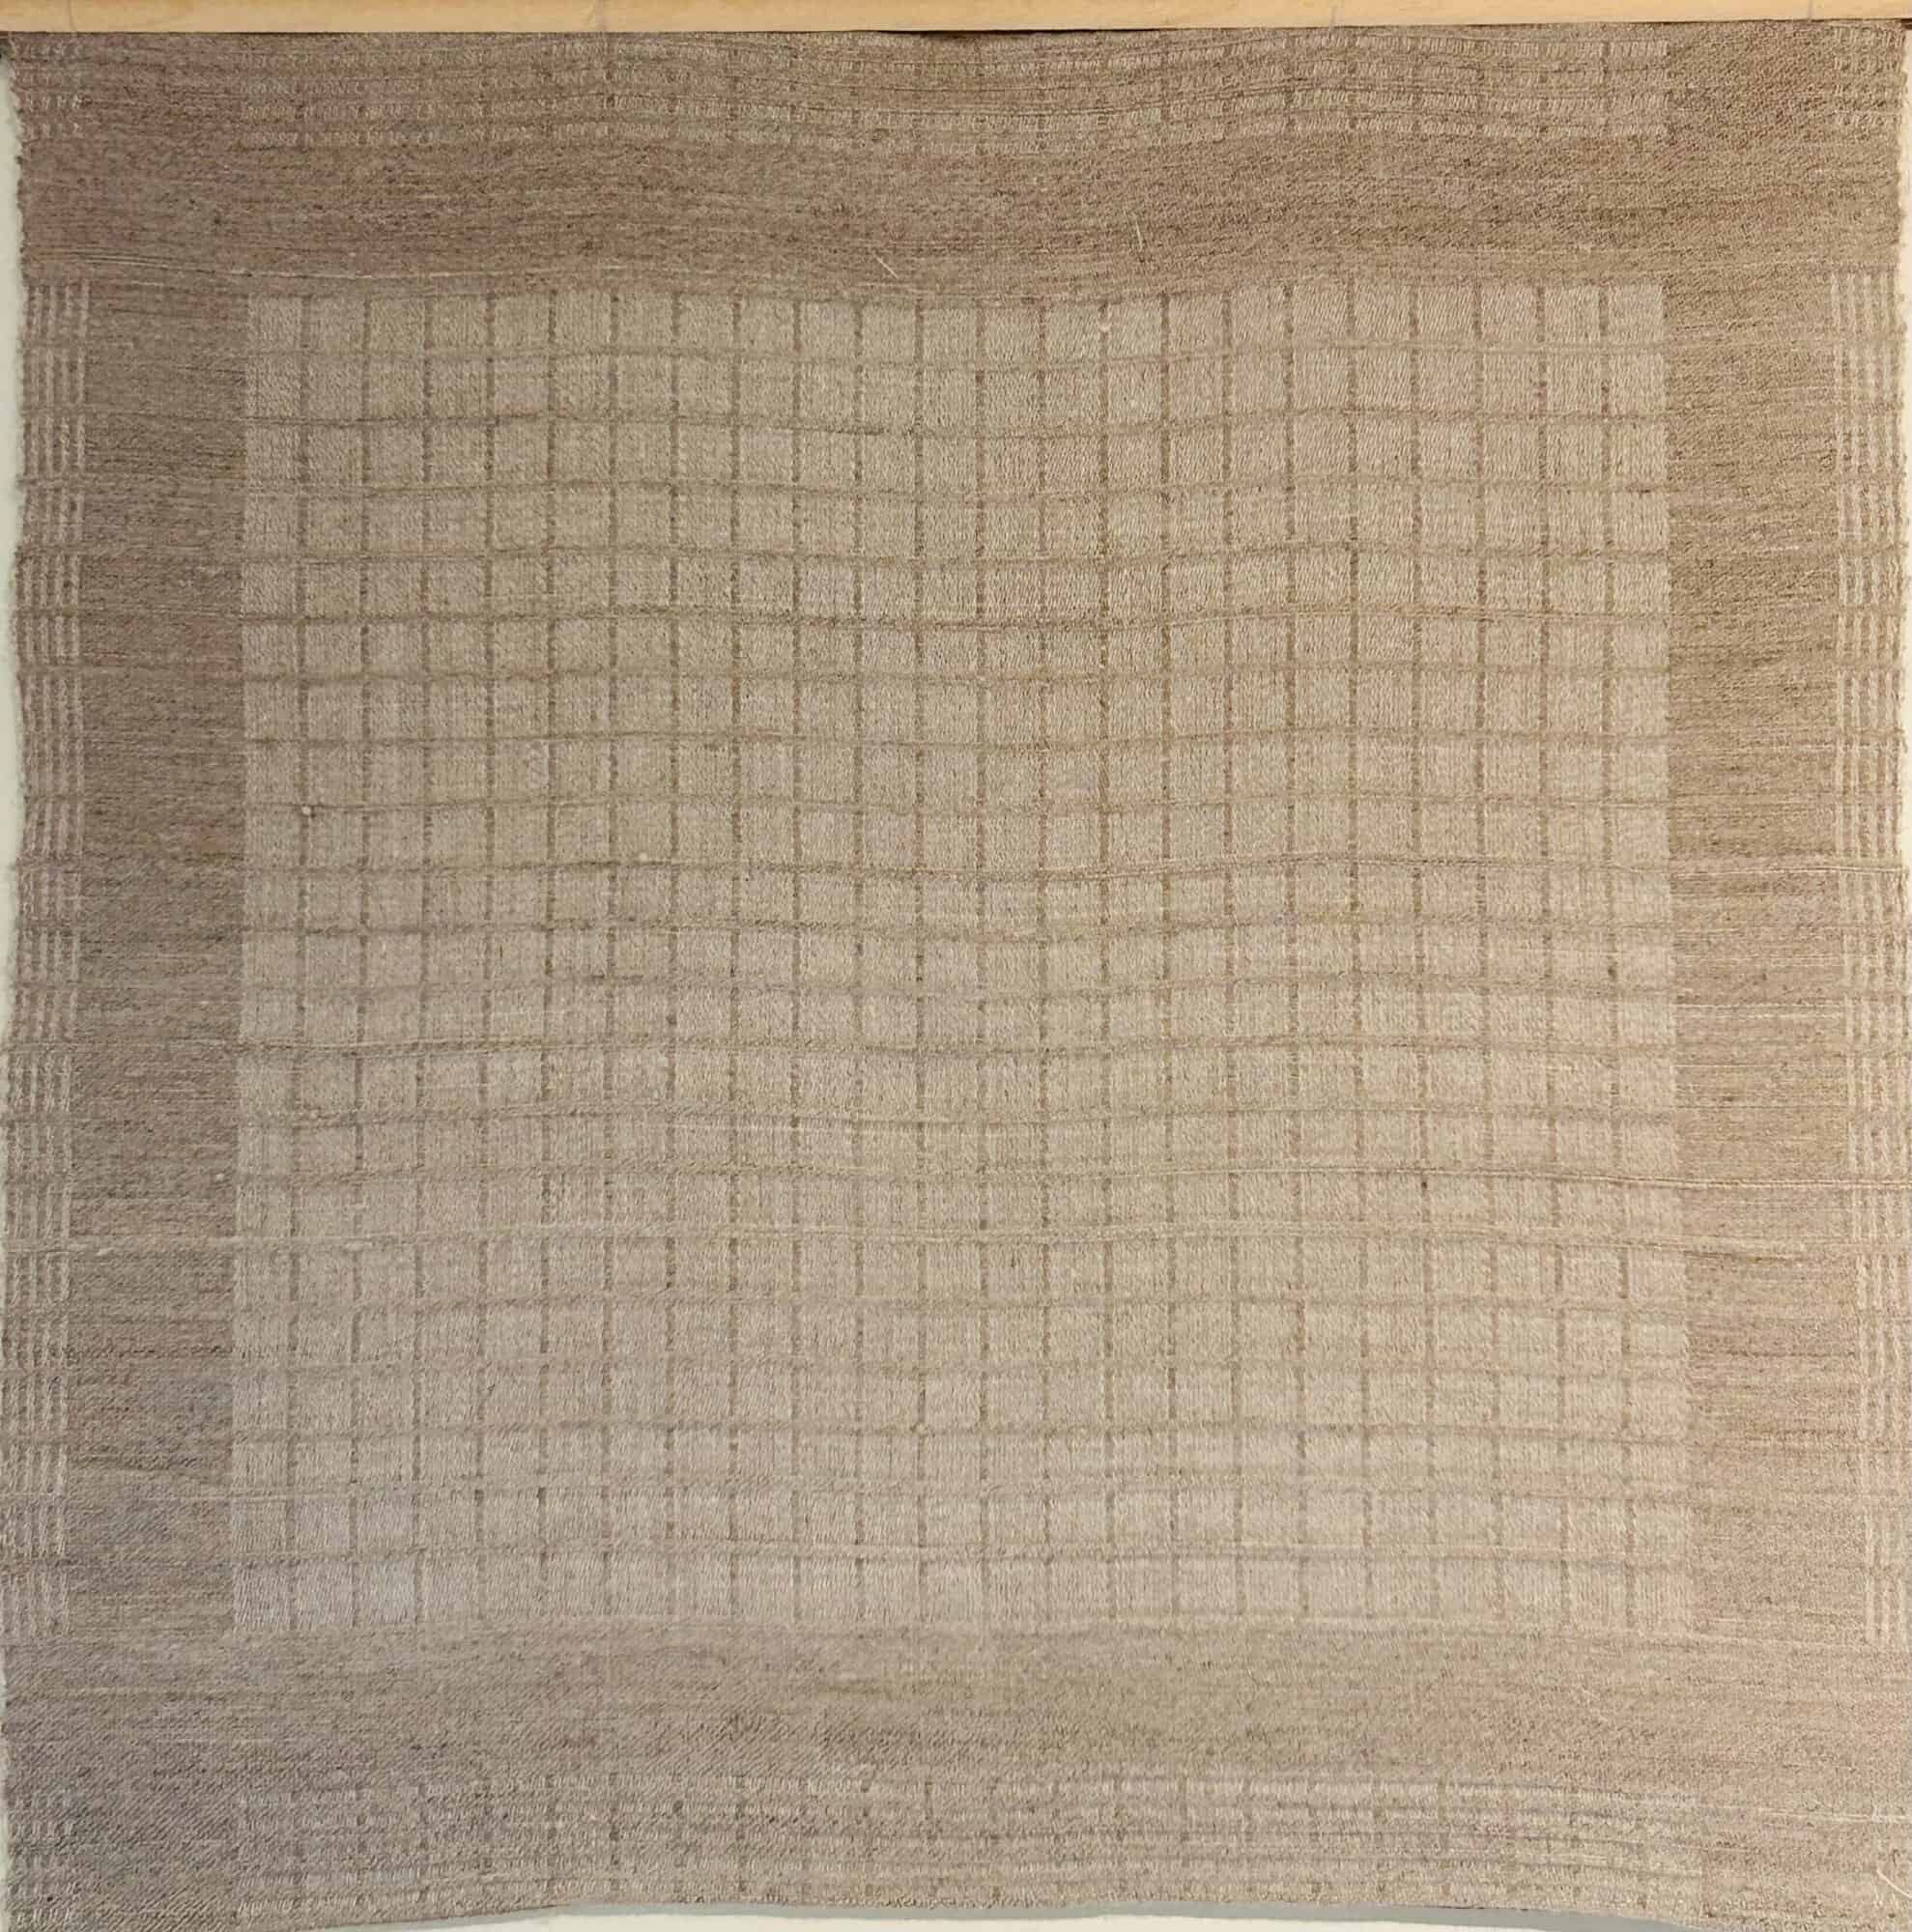
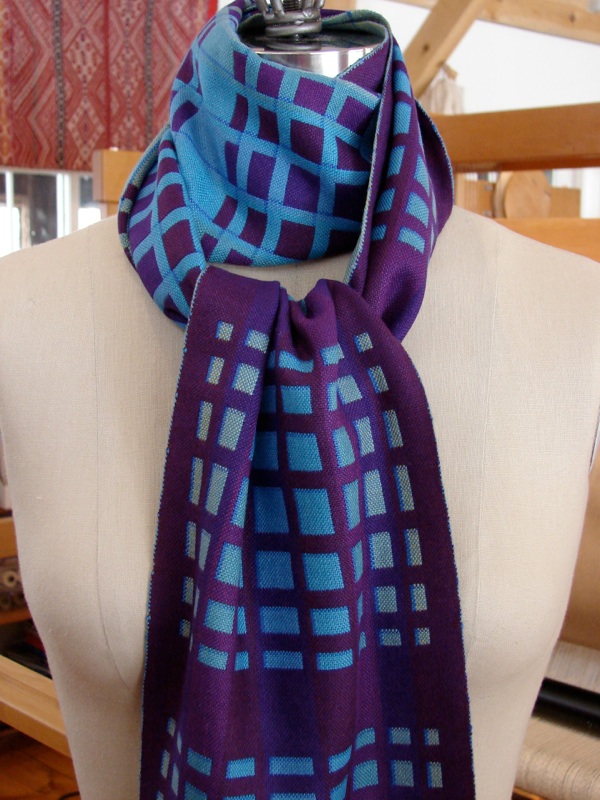
On another note – check out the massive color difference in night shot (sample) vs. day shot (scarf). Wow.